Kitchen Lighting Plan With Dimmers and Under Cabinet Light
Put each layer of kitchen light on its own dimmer, add strips under the upper cabinets, and settle the wiring before the walls close.
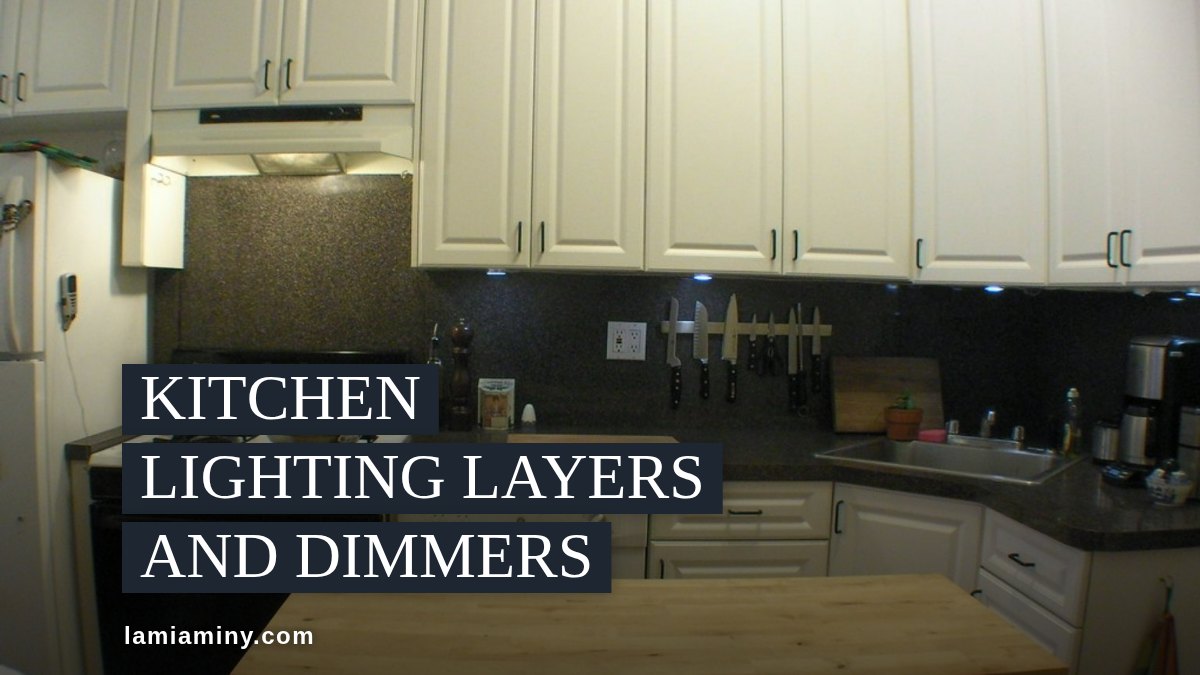
Put each layer of light on its own dimmer, and put a strip of light under the upper cabinets so the counters are lit from the front edge. That is the whole trick to counters that are never in shadow. The rest of this guide is about making those two decisions early enough for the electrician to wire for them.
The layers are ambient, task and accent. Carolyn Anderson wrote in JLC that every kitchen has all three, each with a different job. Ambient light fills the room, task light goes where hands work, and accent light picks out a feature. A kitchen wired as one circuit gives you one brightness for chopping onions and for pouring drinks.
Who Decides Kitchen Lighting and When
The electrician runs the cable and sets the boxes. The lighting designer, or whoever draws the plan, chooses how many fixtures, where they sit and what they are controlled by. Both decisions land before the drywall closes the walls, and that timing is the stake. Homes & Gardens notes that directional downlights suit a kitchen with one central fitting where the owner doesn't want to rewire, which tells you what a change after the fact means: opening up wiring that was already finished. None of the sources here puts a price on that, so I won't invent one.
Habit is the other risk. Anderson says many architects and builders simply pencil in rows of perimeter downlights, which may cost less but probably won't serve the client well. Ask for the layers to be drawn separately.
Why Kitchen Counters Fall Into Shadow
Ceiling light alone is the usual culprit. Bray & Scarff noted that overhead ambient light can still leave shadows at the counter, which is why task light belongs above the sink, the oven and the countertops. Paired with ambient light, it gives a workspace without shadows, in their account.
Golden Lighting adds the detail that matters for the strip: mount it toward the front edge of the upper cabinets so light falls on the counter and your body doesn't block it.
Kitchen Lighting Plan in the Order the Trades Work
These steps follow the work on site, not the shopping list. The numbers come from Anderson's JLC guidance.
- Measure first. Golden Lighting advises taking ceiling height, island dimensions and cabinet depth, since they set pendant height and under-cabinet placement.
- Draw the three layers separately. Each gets its own fixtures and its own switch.
- Mark the ambient downlights. Anderson spaces them 4 to 5 feet apart, on a grid or a line, depending on the room.
- Mark the task downlights. Set them 18 to 24 inches out from the wall so a person working in front of the light casts less shadow on the counter.
- Plan the under-cabinet strips. Anderson specifies upper cabinets with a 2-inch light rail that hides the LED strips.
- Place the pendants, then assign one dimmer to each layer. Island pendants hang 30 to 36 inches above the countertop.
Electrical Rough-In for Kitchen Lighting
Rough-in is when the walls are open and wiring is run to every box. No electrician is quoted by name in the published sources behind this guide, so this section sticks to what Anderson specifies and what it asks of the electrician.
The cable for the strips has to reach where the uppers will hang, so the cabinet drawing comes before the wiring plan. The pendant boxes need to sit where the island will be. A walk-in pantry gets a downlight or flush mount on a jamb switch or motion sensor, and the sink gets its own task light, which Anderson calls essential for safety. She also notes that low-profile dimmable LED strips have replaced older fluorescent fixtures under cabinets, and that recessed downlights work best alongside them.
Lighting Designer Choices and Color Temperature
The designer's side is quantity, beam and color. Anderson uses 4-inch downlights for task lighting because they give a more focused beam than the 6-inch ambient fixtures. She recommends dimmable LEDs of 2,700K to 3,000K everywhere in a kitchen and avoids anything above 3,000K, so the layers match instead of clashing.
One warning for the switch plate: Golden Lighting says flickering LED dimmers are almost always a compatibility problem, fixed with an LED-rated dimmer matched to the fixture's driver. Ask the electrician to confirm the pairing before the fixtures are ordered.
Dimmers and Layers in Use
Richard Moore of Martin Moore said the best schemes use several controllable sources: ceiling spots, pendants, under-cupboard and freestanding lights. Signify's Giuliano Ghidini said strip lights under cabinets give focused, bright light for cooking, food prep and washing dishes. Both were quoted by Homes & Gardens.
Tom Howley, in the same piece, put the payoff simply: bright task lighting over the prep counters, and warm, low lighting once the guests arrive.
Highlights
How do I stop shadows on my kitchen counters?
Add task lighting under the upper cabinets, mounted toward the front edge, and set task downlights 18 to 24 inches out from the wall so you aren't standing in your own light. Ceiling light alone can still leave counter shadows.
What are the three layers of kitchen lighting?
Ambient, task and accent. Each does a different job: filling the room, lighting work areas and highlighting a feature.
What color temperature should kitchen bulbs be?
Anderson recommends dimmable LEDs of 2,700K to 3,000K everywhere in a kitchen and avoids anything above 3,000K.